In the vast, highly competitive ocean of hyper-casual mobile and browser games, it is incredibly rare to find a title that effortlessly induces a deep state of flow while simultaneously testing your spatial intellect. Screw Pin Jam Puzzle is unequivocally one of those rare gems. By brilliantly fusing the immensely satisfying, ASMR-inducing mechanics of "physical unpinning" with the stringent logic of classic "match-3 sorting," this game creates an entirely new sub-genre of brain teaser. You aren't just matching colors on a flat grid; you are dismantling a complex, 3D architectural puzzle held together by gravity, friction, and brightly colored metal screws.
If you find yourself breezing through the introductory stages, enjoying the clinking sounds of falling metal plates, only to hit a massive brick wall in the mid-game where your temporary storage continuously overflows resulting in an agonizing "Game Over"—you are not alone. You urgently need to transition from casual clicking to strategic dismantling. In this comprehensive, 1000+ word deep-dive strategy guide, we are going to completely deconstruct the core mechanics of Screw Pin Jam Puzzle. From mastering the unforgiving 5-slot penalty box to manipulating gravity to reveal hidden screws, and executing clutch power-up plays, we will turn you into an elite unpinning grandmaster.
Phase 1: The Core Mechanism and the 5-Slot Death Trap
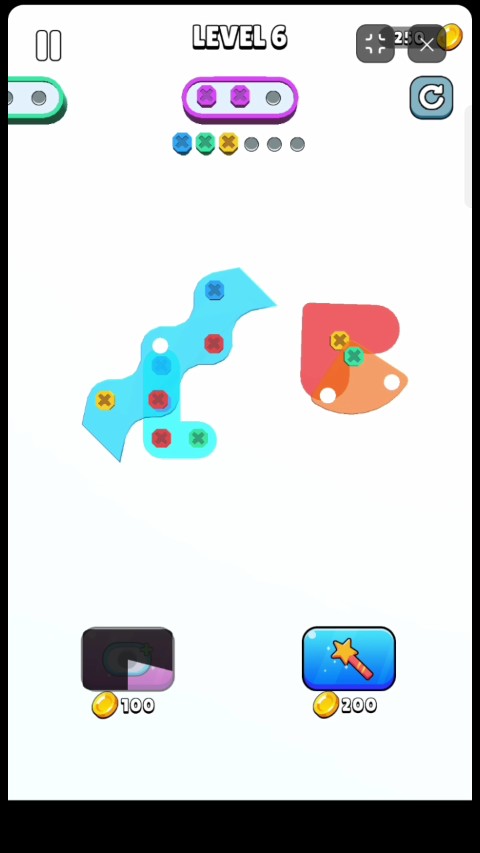
The foundational rules of Screw Pin Jam Puzzle appear deceptively straightforward, but they conceal a harsh reality. The main game board is a chaotic jumble of varying geometric plates—stars, circles, intersecting bars—all securely fastened to a background canvas by multi-colored screws. Your primary objective? Look at the designated "Target Color Extract Box" provided by the system, find 3 screws of that exact color on the board, and click to extract them. Once you collect a set of 3 identical screws, they are cleared off the board, and the system assigns you a new target color.
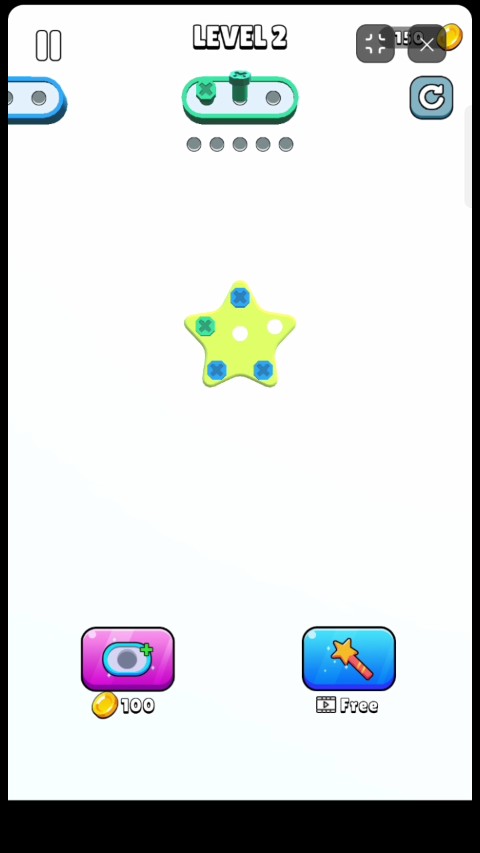
The Penalty Box (Temporary Storage): This is where dreams go to die. If you click and extract a screw that does not match your current target color, it isn't discarded. Instead, it is sent to the "Penalty Box" located at the bottom of your screen. This holding area defaults to a maximum of only 5 slots. If you carelessly click away and fill all 5 slots with random, unneeded colors, and you cannot find a valid screw on the main board to complete your current match-3 target, the game immediately ends. It is an instant fail state brought on by poor inventory management.
The biggest mistake beginners make is succumbing to the "see it, click it" mentality. Before you even touch a single screw, you must perform mental reverse engineering. Analyze the Z-axis (the depth) of the physical layers. Is that red plate resting heavily on top of the blue plate? If your current target requires blue screws, you cannot simply brute-force them out. You must intentionally plan a 3-to-4 step extraction sequence to safely remove the red plate first, clearing the path. Prioritize unpinning the uppermost, completely unobstructed screws to peel the puzzle back layer by layer.
Phase 2: Breaking the Deadlock – Gravity and Visual Deception
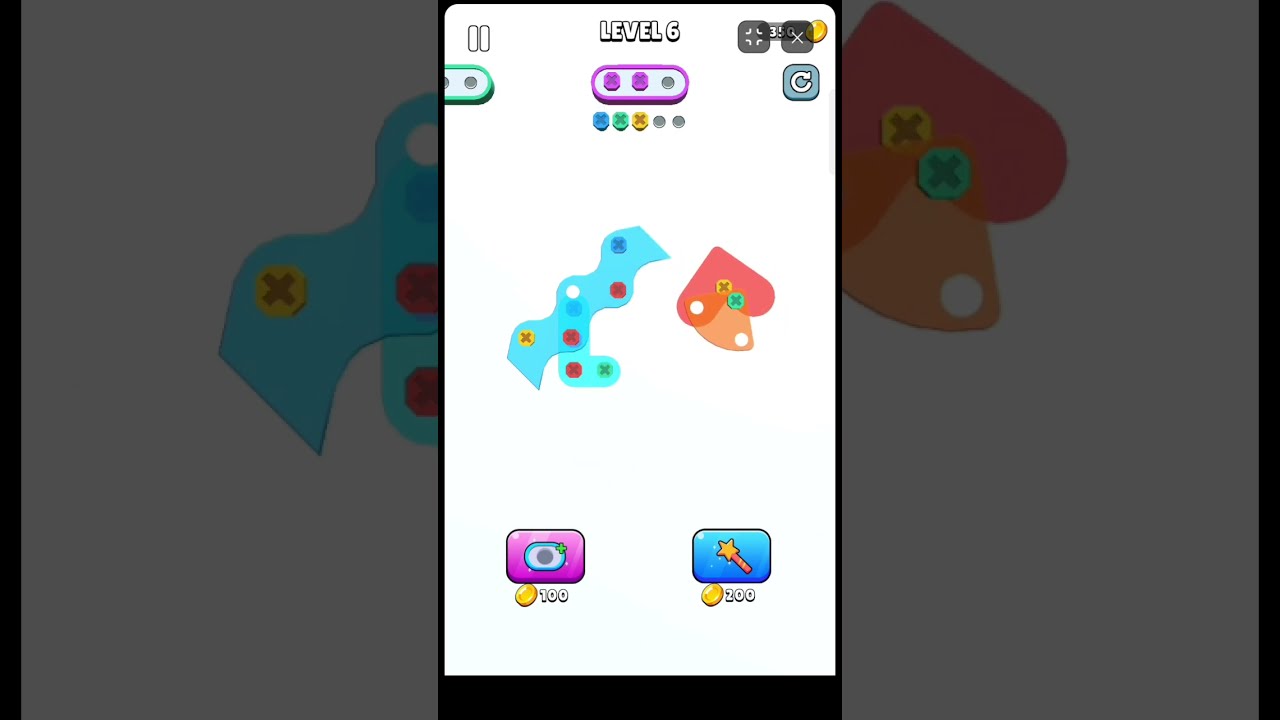
As you progress into the veteran stages, the architecture of the puzzle boards becomes ruthlessly complex. You will encounter intricate interlocking loops, heavy metal barricades, and massive sheets that cover half the screen. It is here that the game begins to aggressively use "visual deception" against you.
In advanced levels, you will frequently face a scenario where you desperately need one final yellow screw to complete your match. You can clearly see the yellow head poking out from behind a metal bar, but clicking it does nothing. Why? Because the game's robust 3D physics engine recognizes that the yellow screw is physically pinned beneath the slight, almost invisible edge of a transparent glass plate or an overlapping geometric shape.
The Kinetic Unpinning Strategy: You do not always need to completely unscrew a plate to get it out of your way. When you extract screws from one side of a large plate, the game's gravity takes over. The plate will swing, tilt, or slide downward on its remaining pivot point. Elite players use this to their advantage! By intentionally unpinning just the top-left corner of a massive blockade, they allow the plate to swing downward like a pendulum, instantly revealing a treasure trove of hidden target screws beneath it, saving precious clicks and keeping the penalty box empty.
Gameplay Walkthrough: The Symphony of Unpinning
While reading about physical momentum is helpful, seeing the mechanics executed in real-time is the fastest way to improve. Watch the intense gameplay demonstration below. Pay close attention to how the player maintains an almost empty penalty box, how they deliberately drop plates to reveal new sections, and their razor-sharp timing when utilizing in-game power-ups.
Phase 3: The Ultimate Lifelines – Mastering the Two God-Tier Items
No matter how flawlessly you map out the physics engine, the sheer complexity and randomized nature of the board will occasionally trap you in a mathematically perfect deadlock. To prevent pure frustration, the developers have armed you with two phenomenally powerful lifelines. Because these tools cost valuable resources, squandering them on early mistakes is a guaranteed death sentence for the later, hellish levels.
1. The Lifesaver: +1 Hole (Penalty Box Expansion)
This is your most reliable defensive shield in the game. By activating this power-up, your restrictive 5-slot penalty box instantly expands, granting you a critical 6th slot for temporary storage.
The Clutch Play: Never, ever use this item at the beginning of a stage when your box is mostly empty. The optimal, pro-level timing for the "+1 Hole" is when you are staring down the barrel of defeat. Your 5 slots are completely jammed with mismatched screws, the game is about to end, but you know that if you can just extract one more obstruction screw, the plate will fall and expose your winning target color. You pop the +1 Hole, drop the garbage screw into the new 6th slot, extract your target colors, and watch the board beautifully clear out. It is the ultimate buzzer-beater move.
2. The Lawbreaker: Auto-Extract (Target Homing)
If the +1 Hole is your shield, the Auto-Extract tool is your nuclear option. It is the most destructive, physics-defying weapon in your arsenal. Once activated, the game's AI will automatically scan the entire board, locate a screw of your current target color, and violently rip it out of the board, completely bypassing any physical plates or objects that were resting on top of it.

When to pull the trigger: Save this strictly for "Perfect Deadlocks." Imagine your target is red. The only two red screws left are buried underneath a massive steel plate. To remove the steel plate, you would need to extract 6 green and blue screws—but your penalty box only has 2 empty slots. You are trapped. Instead of accepting defeat, you hit Auto-Extract. It ghosts right through the steel plate, snatches the red screw, completes your 3-match, and completely shatters the physical blockade holding you back.
The Golden Rule: Let Your Inventory Breathe
To truly conquer Screw Pin Jam Puzzle and ascend the leaderboards, you must learn to control your impulses. Many players see a cluster of easily accessible screws on the surface and rapidly click them into the penalty box, hoping the system will cycle to that color soon. This is a fatal error!
The Ironclad Rule: Always keep at least 2 slots empty in your penalty box. These two slots are your "breathing room." They act as a vital buffer zone for when you inevitably misjudge a physics interaction or need to temporarily store an unexpected screw to trigger a plate drop. Once you fill your box to 4/5 capacity, your margin for error drops to zero, and the slightest visual miscalculation will end your run.
Final Thoughts: The Architect of Chaos
Screw Pin Jam Puzzle is not just a mindless tapping game; it is a rigorous test of 3D spatial visualization, forward-thinking logic, and strict resource management. The unparalleled dopamine rush of finally unpinning the keystone screw that causes half the board to dramatically collapse is what makes this game so incredibly addictive. By mastering the art of Z-axis reverse engineering, weaponizing gravity to swing plates, and holding your god-tier power-ups for the absolute final moments of a deadlock, you will transform from an amateur tinkerer into a master architect of chaos. Now, take a deep breath, survey your board, and let the dismantling begin!