Untangle Snake Frenzy Strategy Guide: Master Grid Unblocking & Snake Removal Sequences
If you have been searching for a game that blends spatial tension with razor-sharp logical deductions, look no further than Untangle Snake Frenzy. At first glance, the board presents a colorful but daunting mess—a cluster of intertwined snakes completely blockading one another in a confined layout. Your primary objective is deceptively simple: tap and safely guide each individual snake off the grid one by one until the entire area is cleared. However, the catch lies in the overlapping physics and directional orientation of these slithering creatures. One rushed click, and your move might result in a devastating collision that drains your level stability.
Phase 1: Analyzing the Core Mechanics & Directional Logic
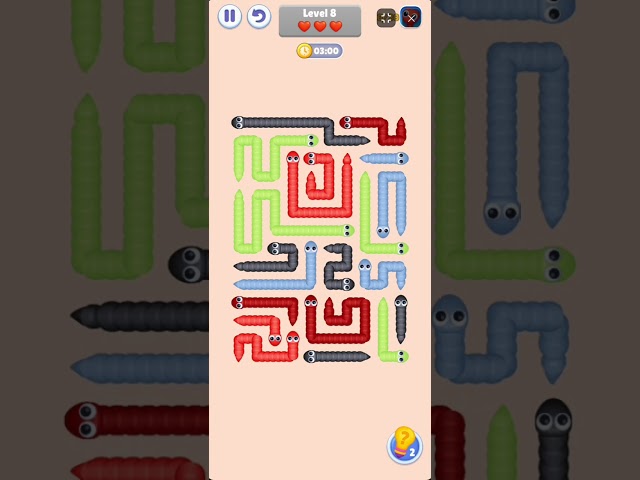
Every single snake on the board possesses a fixed head orientation, which dictates the explicit direction it will slide when clicked. To successfully remove a snake, its immediate path forward—stretching from the nose of the snake all the way to the edge of the puzzle frame—must be absolutely clear of any other physical obstructions or intersecting snake bodies. Understanding this rule changes how you view the map completely.
The Operational Rule of Thumb: Before touching your screen, you must train your eyes to isolate the head of a specific snake. Trace an imaginary line directly in front of its gaze. If that vector is wide open and leads directly out of the grid borders, a single tap on that colored snake head will cause it to effortlessly slide out of the knot, loosening the overall structure for the remaining snakes.
Phase 2: The Red Heart System and Failure Penalties
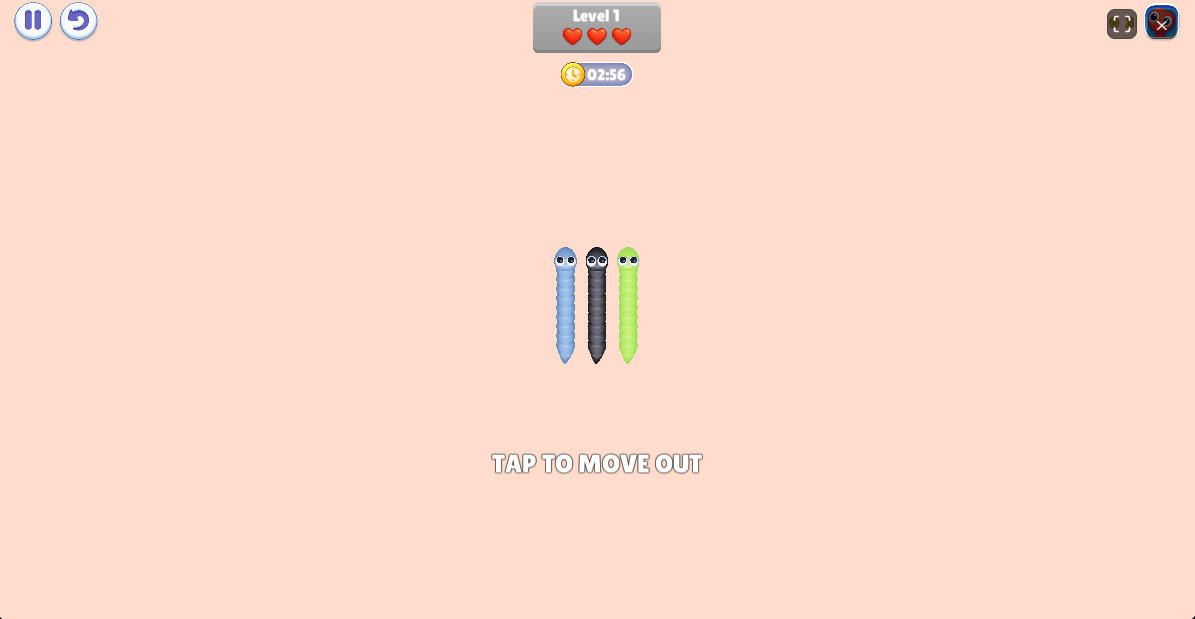
Unlike standard sandbox logic puzzles that offer boundless trial-and-error click-spamming, Untangle Snake Frenzy introduces a high-stakes survival element: a strict 3-Heart Lifeline Mechanic. This structural friction forces you to slow down and treat every decision with careful calculation.
Whenever you miscalculate a route and tap a snake whose exit vector is hindered by another reptile body, a crashing collision occurs. The snake slams forward into the blockage, recoils back into its initial position, and you instantly forfeit 1 Red Heart. Each stage grants you precisely three attempts of tolerance. If you commit three consecutive structural errors, all hearts vanish, the level breaks down, and you are forced to restart the entire sequence from scratch. This system transforms an ordinary puzzle into a high-tension tactical battlefield.
Gameplay Walkthrough: Advanced Level Dismantling
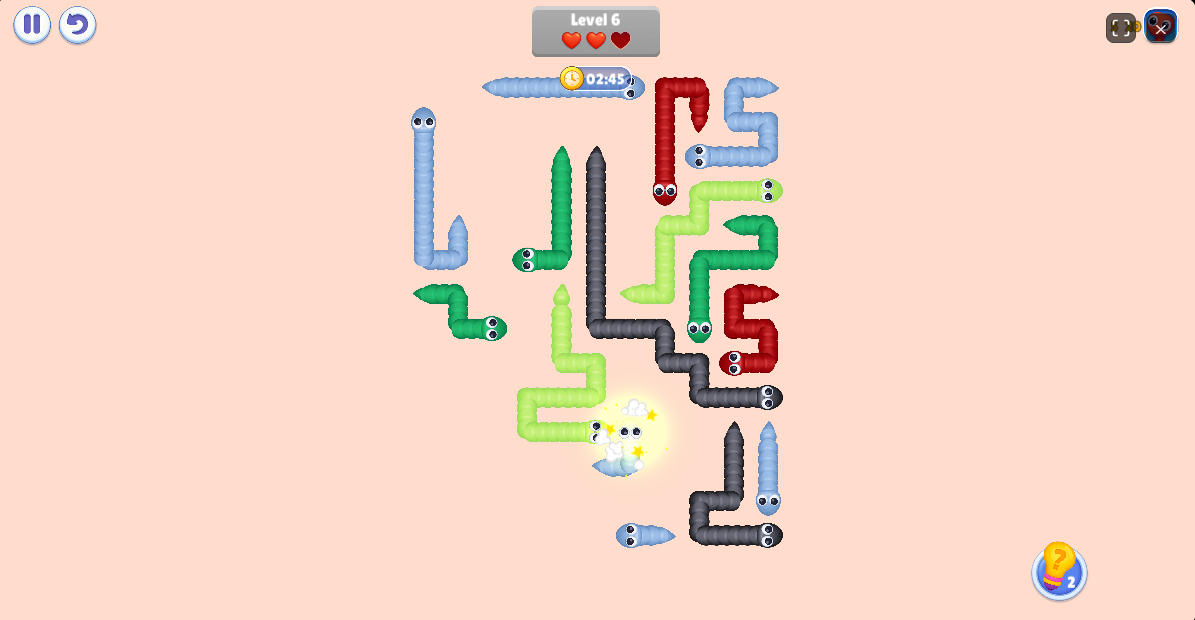
To truly grasp how these mechanics unfold during live, fast-paced puzzle scenarios, review the full challenge walkthrough video below. Pay close attention to how experienced players handle dense snake knots, methodically working from the open perimeter inward to avoid early game-over screens.
Phase 3: The Level 5 Booster Milestone
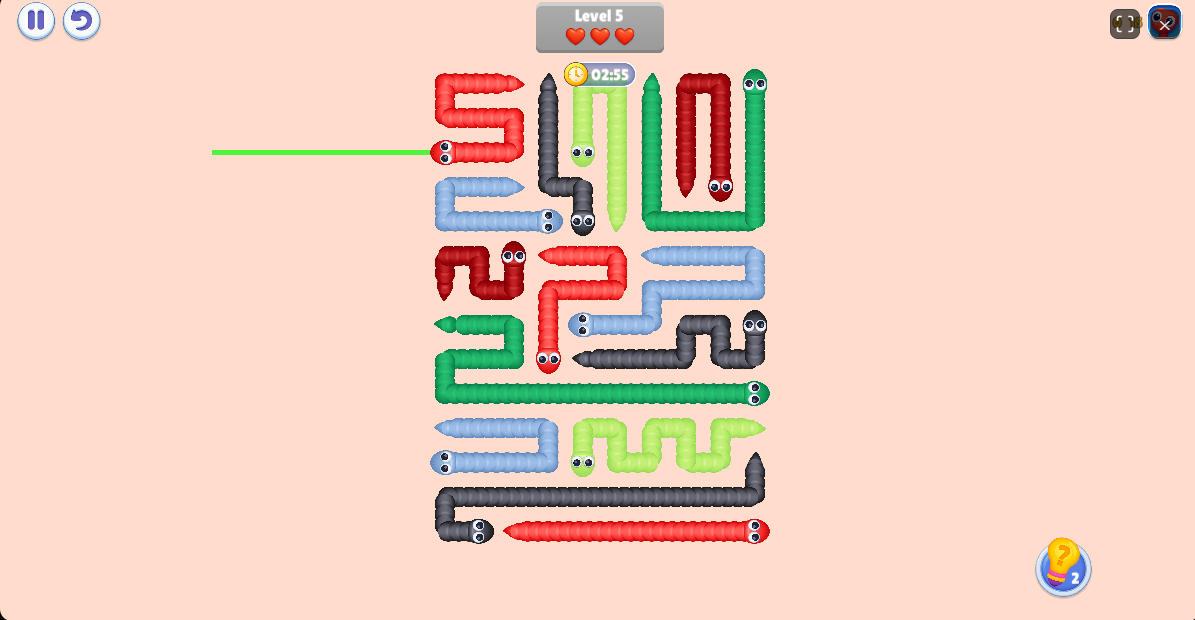
As you progress deeper into the campaign, the structural density of the snake knots scales exponentially. Fortunately, hitting Level 5 marks a major gameplay shift by unlocking the Hint Booster System. This strategic tool is an absolute lifesaver during later-stage bottlenecks when the layout seems entirely impassable.
When activated via the booster icon on your UI, the game automatically runs an active pathway calculation across the remaining entities. It will highlight a designated, fully unblocked snake that is currently safe to extract. Tapping the highlighted snake removes it instantly, clearing crucial spatial grid gaps and initiating a cascade effect that opens up multiple natural exit paths for surrounding snakes. It is wise to save this tool for the final, chaotic layers of the puzzle.
Pro Strategies for High-Tier Puzzle Clearing
If you want to maintain a perfect streak across advanced stages without losing a single heart, adopt these veteran-level habits:
- Work the Perimeters First: Never focus on the center of the knot at the start. Look exclusively for snakes resting near the outer edges whose heads point outwards toward freedom. Stripping away these exterior layers is the safest way to loosen the inner layout.
- Reverse Route Tracing: Instead of checking where a snake goes, trace empty exit lanes backwards from the screen boundary into the cluster. Find which snake head sits right at the terminus of that empty lane, and click it.
- Predictive Pathing: Before clicking your chosen snake, look at the body underneath it. Will removing this snake immediately free up another? Planning 2 to 3 steps ahead prevents accidental locks and guarantees a smooth clearing flow.
Do you possess the sharp spatial perception and patient tactical mind required to untangle the ultimate reptilian jam? Test your cognitive skills, keep your lifelines intact, and clear the board like a master strategist!
If you encounter any specific glitches or have level balance suggestions for later challenges, feel free to drop a line to our team at support@puzzlechallengehub.com. We frequently push patches based on player meta-analysis.
Play Untangle Snake Frenzy Free Online
Untangle Snake Frenzy
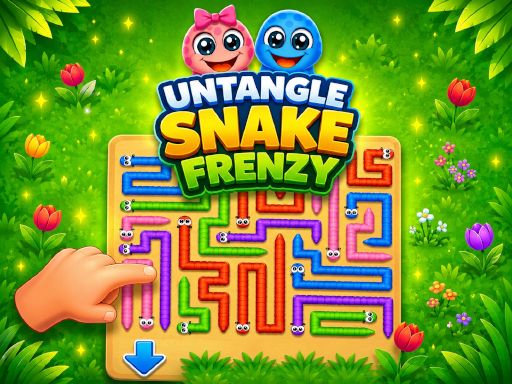
Unknot the chaotic snake jam! Analyze head directions, avoid critical path collisions, leverage smart hints, and carefully remove every colorful snake to master this addictive puzzle.